Summer Glow with Laura Mercier
This post has been brought to you by Laura Mericer
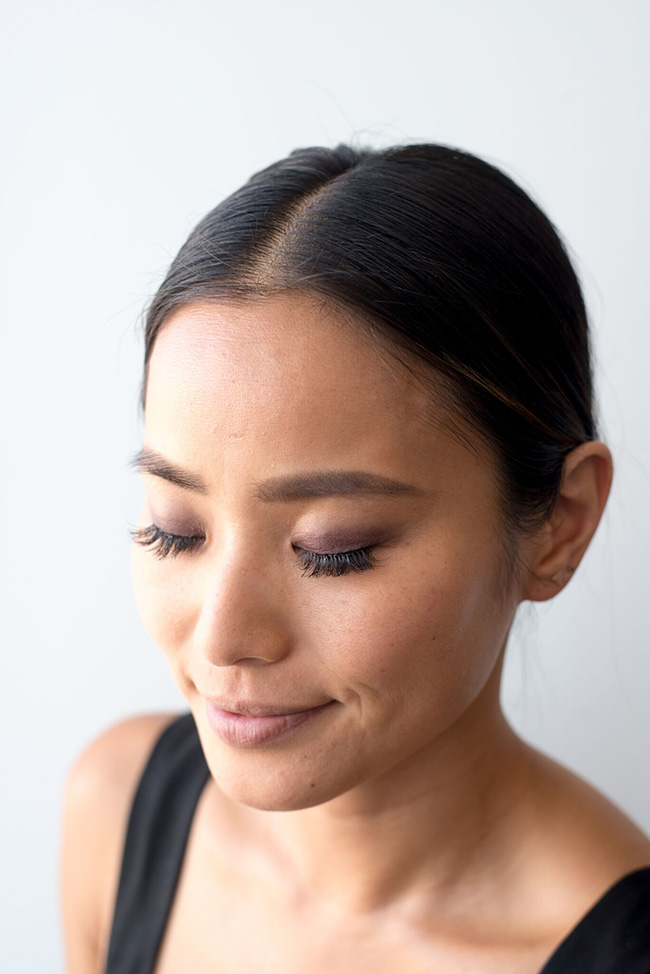
Ask and you shall receive! Some of you have asked me to post about my makeup routine. So here it is! I’m showing you an easy Summer Glow Makeup routine featuring some of my favorite Laura Mercier products. Let’s begin…
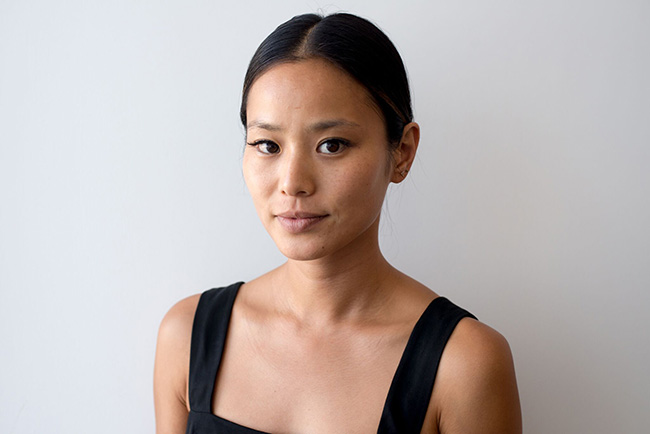
Start with a fresh face!
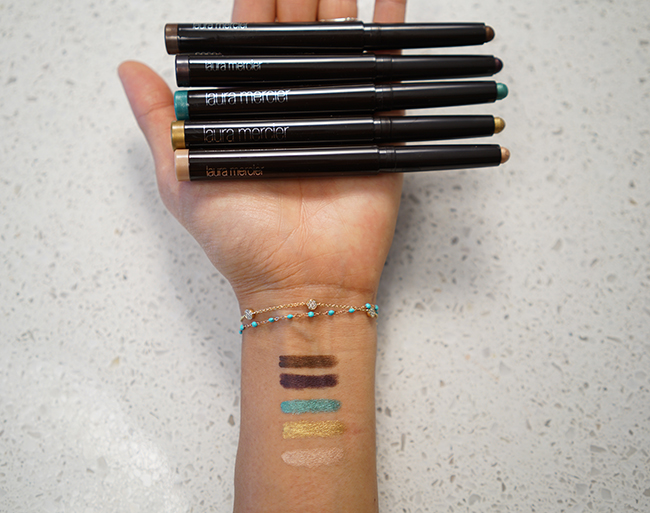
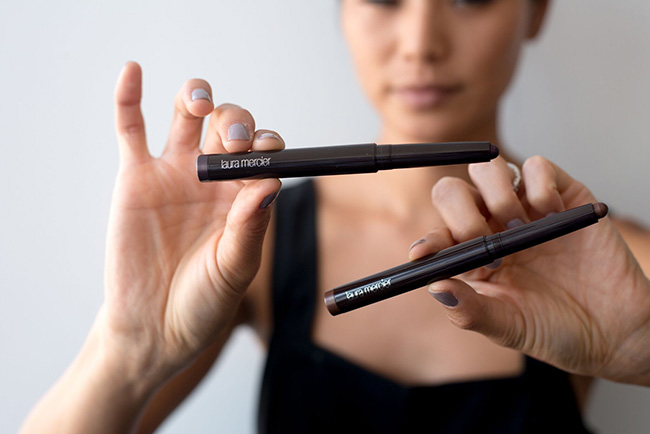
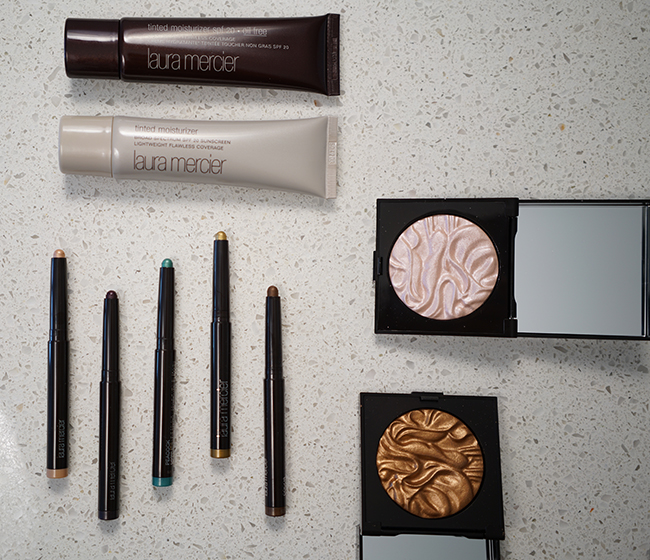
Today I’ll be using, Laura Mercier; Tinted Moisturizer, Caviar Stick Eye Colour, Face Illuminator, Cheek Colour, Translucent Loose Setting Powder and a Matte Eye Colour for my brows and your favorite lipstick.
Tools you need are; flat pointed sponge, a blending eyeshadow brush, an angled definer brush, a blush brush, individual eyelashes and liquid eyeliner.
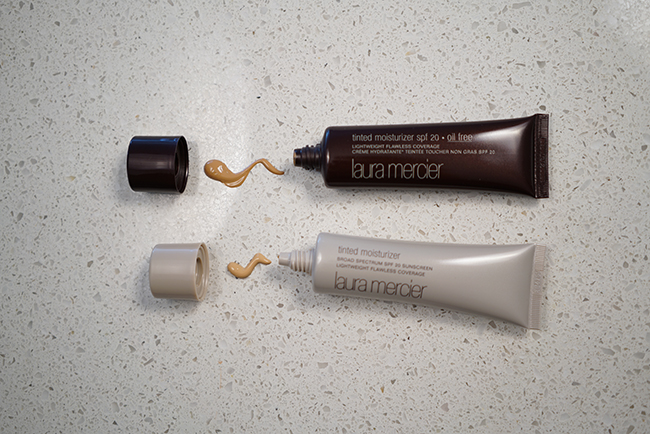
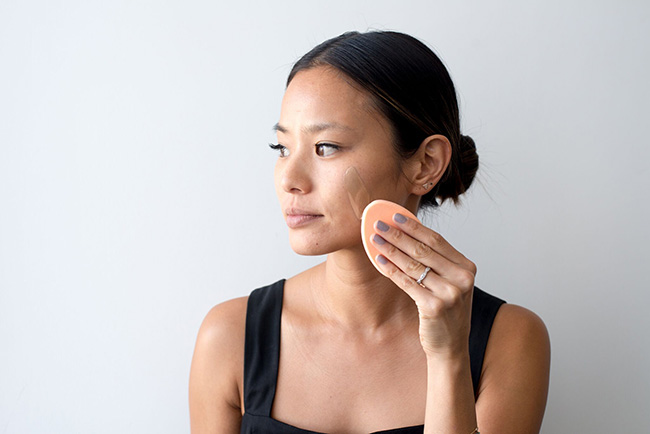
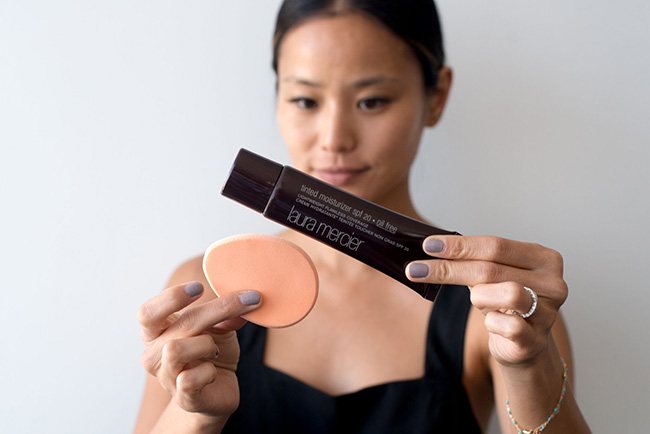
Step 1: Wet your sponge! When the sponge is wet it absorbs the least amount of product and goes on evenly. On the back of my hand I’ve mixed two Tinted Moisturizers together; Bisque and Caramel (My color fluctuates a lot over the summer.) This Tinted Moisturizer is lightweight but still gives you beautiful coverage. It’s also got SPF 20 which is a MUST all year round. Finish with the Translucent Loose Setting Powder to take away shine.
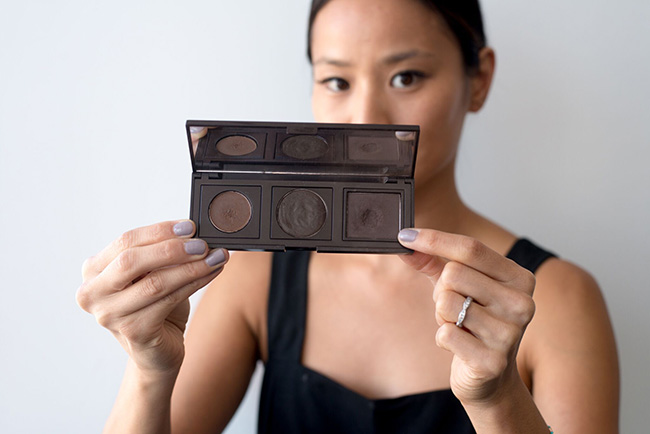
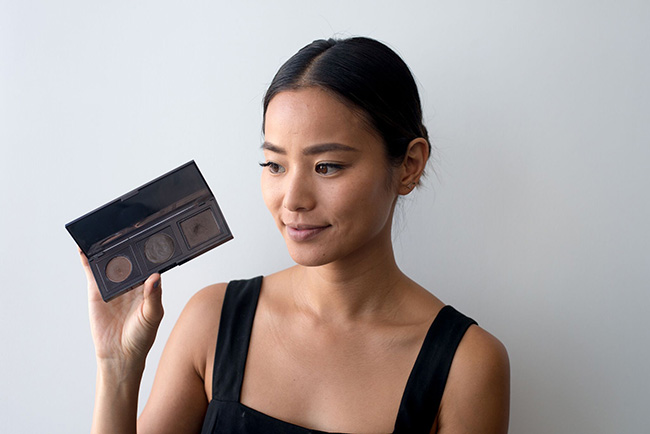
Step 2: Fill in the brows! Use your angled definer brush to color in your brow. I’m using “Coffee Ground” Matte Eye Colour also by Laura Mercier. I start by applying it to the bottom of my brow line first and working my way to up the top line of my brow.
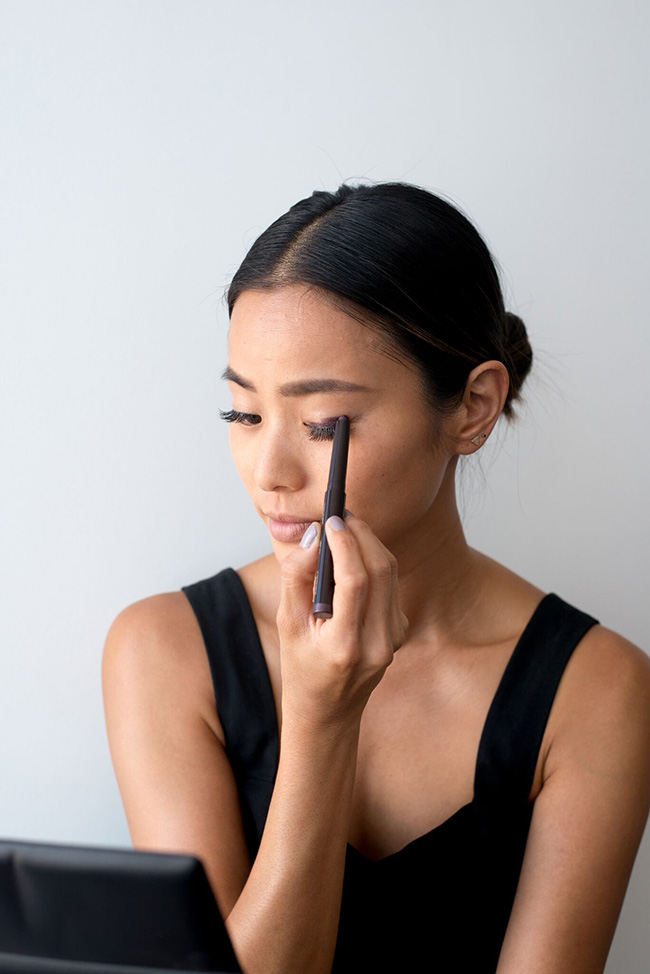
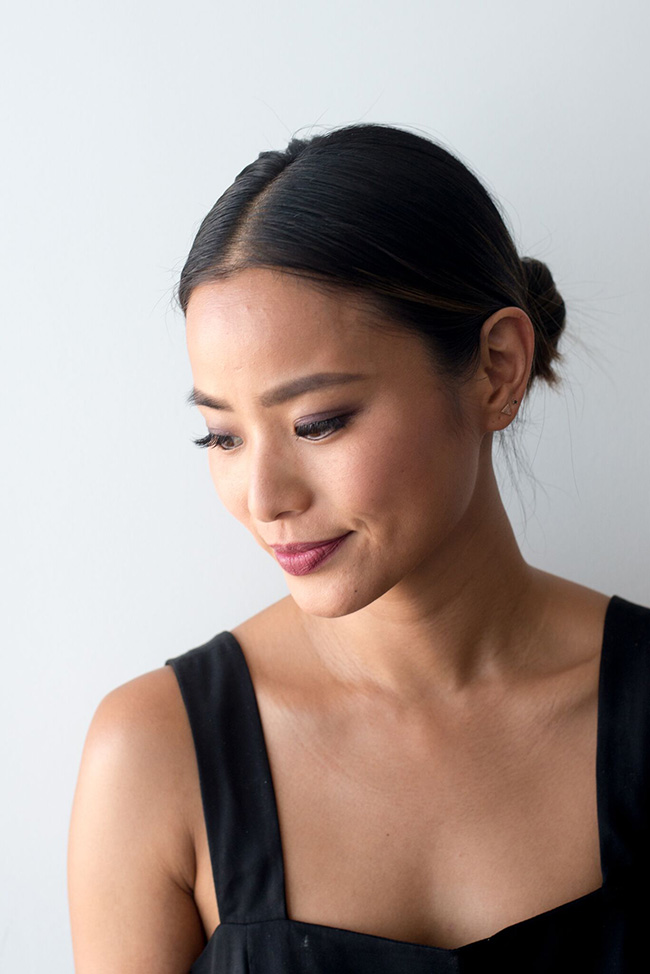
Step 3: Pick your color! For my eye shadow I’ll be using the Laura Mericer Caviar Stick Eye Colour. Apply it directly to the lash line for a smoky effect. Blend with a medium eyeshadow brush. I primarily used “Plum” but added a bit of “Cocoa.” The color pigmentation is rich! So a little goes a long way. If you want a more dramatic look use these Caviar Sticks as an eyeshadow primer and layer on your powdered eyeshadow.
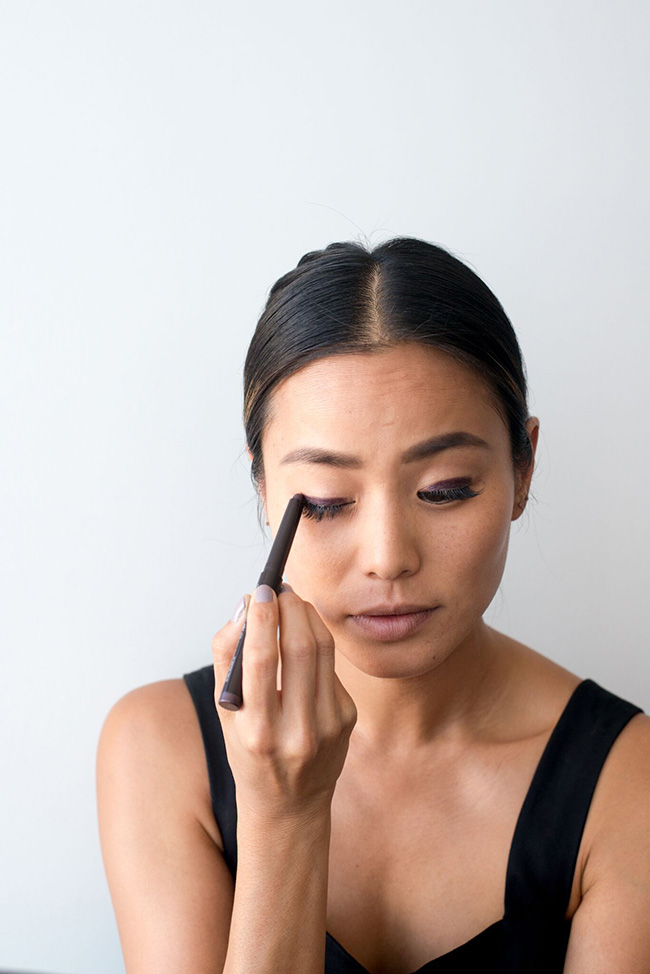
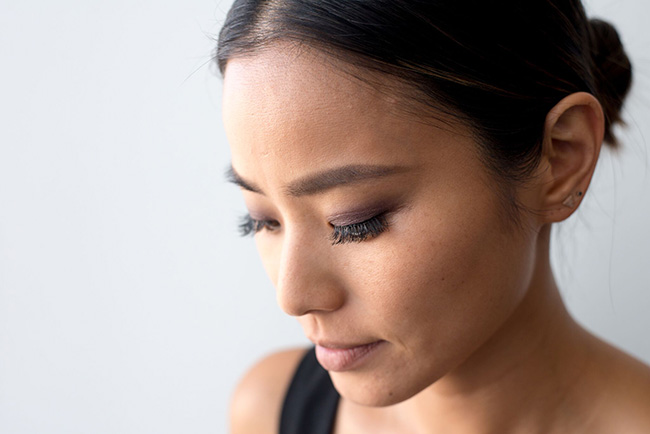
I’ve had my mink semi permanent eyelashes for two weeks. It’s beginning to think out so I’ve added some individuals lashes. Apply the tiniest amount of liquid liner to hide the base of the individual lashes.
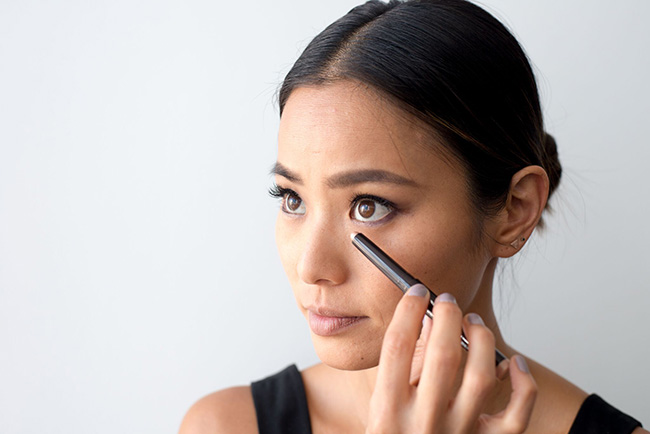
I’ve blended in the “Plum” Caviar colour to the outer part of my bottom lash line and used the “Rose Gold” to the inner part of my bottom lash line.
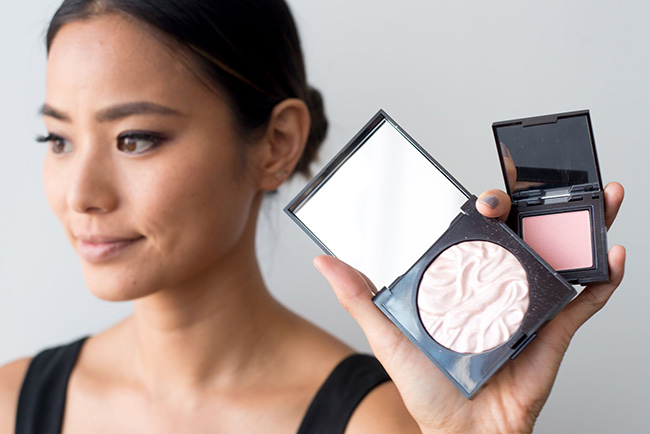
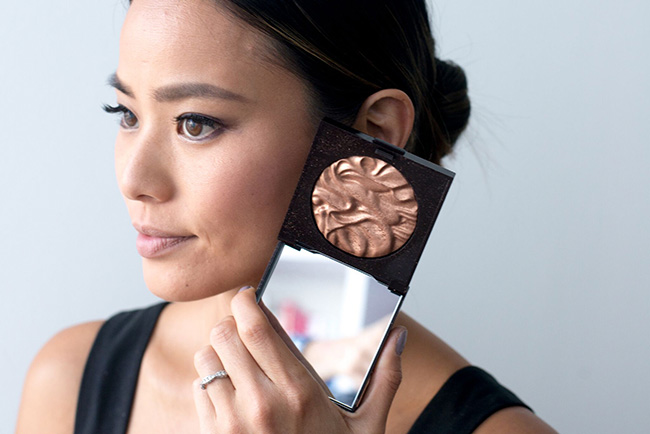
Step 4: Blush and Highlight! Apply a small amount of “Rose Petal” Second Skin Cheek Colour to the apple of your cheeks. Then use “Devotion” Face Face Illuminator to the top of your cheek bone and to the bridge of your nose.
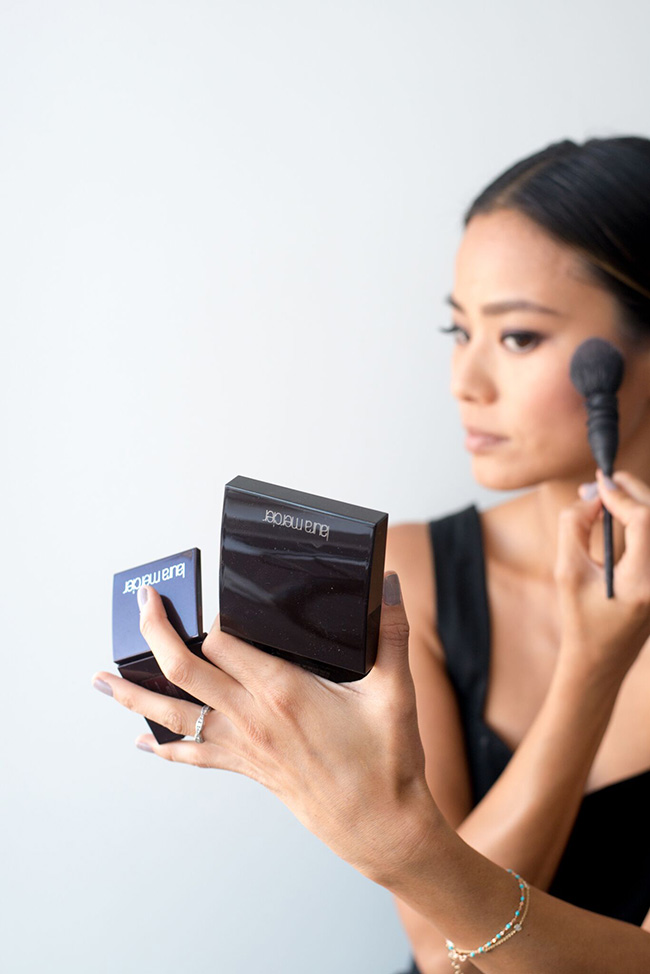
I’ve got a golden undertone, so I’ve also added in “Seduction.” It gives you a golden glow!!
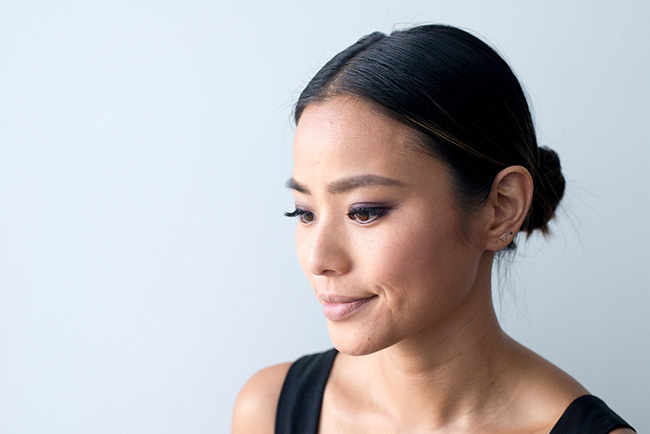
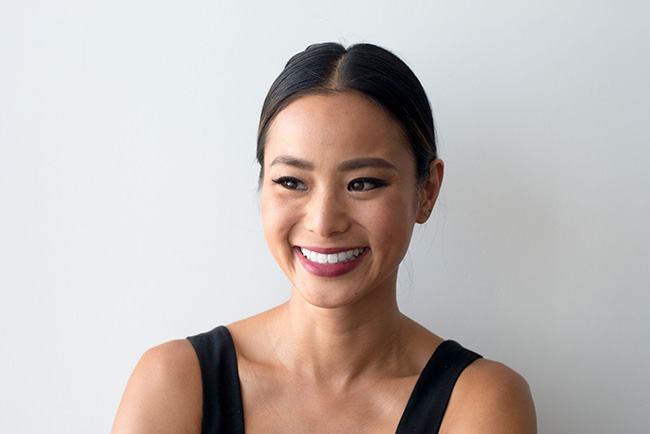
Add a pop of color to your lips, blot for a “Lip Stained” look and you’re DONE!
Photographed by Alyssa Greenberg




8 Comments
Simple and naturally gorgeous colours . . . Sometimes that’s all it needs to look beyond beautiful! 🙂
La Bijoux Bella | by mia
amazing 🙂
mfashionfreak♥blog
You should start a YouTube channel for makeup / styling tutorials and vlogging x
What color is the lipstick you are wearing?
And what are your favorite lipstick(s)/pencil(s) (brand) and color to wear when you are (a.) just running errands, and (b.) for an evening out?
(Thanks! I have a similar complexion and I just look funky with a bright red lip!) xoxo
I loveeed this tutorial! Thank you!
Love this. Laura Mercier is one of my favorite brands. Beautiful makeup!
Jenny Loves Beauty ♥
Must try some of the LM products! I love the look of those palettes! They are so luminous! Beautiful post Jamie.
xx Jenelle
http://www.inspiringwit.com/
Laura Mercier is one of my favorite brands :)!